When I am not working in Baseball and training for marathons, I am enjoying my new Baseball Workbench that I built over the offseason. For my first project, I wanted to make an awesome Butcher Block Cutting Board. It was therapeutic and fun. For those interested, I offer these steps on how to make one yourself.
1. Lumber and supplies. We went to Home Depot and bought the following: 3 2x2x10 red oak boards; 2 24" clamps; Mineral Oil; lambswool stain applicator; sandpaper (80, 120 & 180 grade). Hardwood is required and it can be expensive, so it is important to calculate cuts there. I would get 5 2-footers out of each board, so 15 lengths to use, a few of them extra. Make sure boards are not warped. Look for varied color and grain. I had the lengths cut for me there on the spot.

2. Measurements. First measure your kitchen counter space for desired dimension, and don't forget to also measure the storage area where you place the board when not using it. Now you know how big to make it. I wanted 1 1/2' wide by 2' long, so I knew I needed 12 boards side by side - each of them 2" wide. Position the boards as you wish, making the best contrast of colors and grains - the fun part.

3. Even one side. I used one of the extra boards to place on the left side and then tapped all of them so they were even with that one. That told me if I needed to trim down any boards on the other side before getting under way -- just so they are roughly at same length and to eliminate unnecessary waste. You will need to cut both edges later, regardless.

Here's a side view:

4. Glue it together. Use a waterproof wood glue. I bought 2 Titebonds, and that wound up being a bottle and a half too much, so I'll just reserve the rest for later use.

Apply zigzags of glue to each side -- excluding the outside of the outermost boards. I found it easiest to stack them. Smear the boards together for even covering, and then just keep stacking all the way to the top so the board is inverted. Wipe excess glue as you go.

5. Clamp press. Lay two extra boards in a crossing direction on each side, and with a helper carefully lay the glued cutting board on its side so those support boards keep it from laying directly on your workbench. That way it won't adhere to your workbench. Use your left edge again so one side is flush, and then take your two (or three) 2-foot clamps and make a press. Wipe the excess glue on one side, then flip it and wipe excess glue on the other. Use a little warm water in a bucket and rags to wipe the glue. Leave it for 24 hours to set, repositioning the clamps once or twice along the way to help ensure even pressure.

6. Trim both sides. After the glue has dried, use a square and mark a straight line where you can trim the least amount of each side. Using a circular saw, the heighth should be just right to simply shear off each side. That left me with about 23 1/2 " length.

7. Sanding. Use a power sander and I recommend three grades of sandpaper -- 80, 120 and 180, so you start with coarse grit and gradually work up to a velvety buff. Begin with the stick-on 80 discs, and smooth out the rough surface. I went through a few discs.

Flip the board once it is as smooth as you wish.

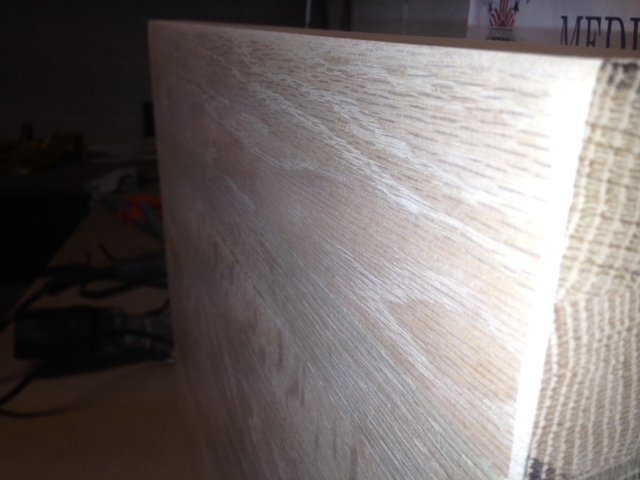
Here is how the texture of the wood is looking at this point. Note that I started rounding the edges and corners at this stage, but be careful not to overdo it with the 80-grade. You also can round simply with the 120 at the next step. TIP: At this stage, make sure the entire cutting board is flush and has no wobbling. If it does, sand down any elevations.
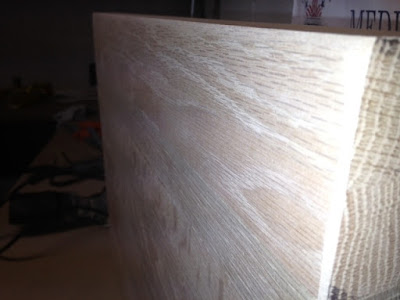
Use the power sander for the second sanding as well. I used 120 grade stick-on discs and removed any remaining roughness.

To sand the sides, I placed the board in my vise lock, repositioning it after each side.

For the final sanding step, you'll need three or four sheets of 180 grade, a buck each. You can use a sandblock if you wish, but I prefer one foldover and a nice, easy rub all over the board, including sides, edges and corners.

You'll love how it feels rubbing your hand over the board:

8. Own it! Just for fun, I used an awl and ink pen to brand my first initial in a side.

9. Protect it. Mineral Oil will be a fact of life with your butcher block, and at the outset you want to apply three or four coats. Home Depot had food-safe oil in its Stains aisle. I highly recommend using a lambswool stain applicator, because it made it so much easier than only rags.

Again use the two extra boards as crossing supports to elevate the cutting board off your workbench. That way you also can apply to the sides. Lismo helped me at this stage, a good time to use that teamwork! Wait at least 20 minutes after applying each coat, so start with one broad side and hit all four edges at the same time. Wipe the excess oil. As you can see in this picture, Joltin' Joe is watching my every move and Babe is staring out into the distance, calling his shot.

After waiting for the fourth coat to dry on that side, place a towel over your cross supports. That way you will not be flipping the board directly onto wood yet. Now repeat the same process for another three or four coats, but don't worry about the sides. Let it dry. Between one of the last coats, I let King Bingley snooze on top of me while I waited:

Once the last coat dries, wipe off any excess oil, using rags.

Take your finished product to the kitchen. Sit in on the table. Smile!
10. Caring for your Butcher Block Cutting Board. There are three crucial steps to clean and preserve your masterpiece: cleaning, sanitizing, and sealing. I recommend you
watch this video, which was all the help I needed. Bon appetit!